
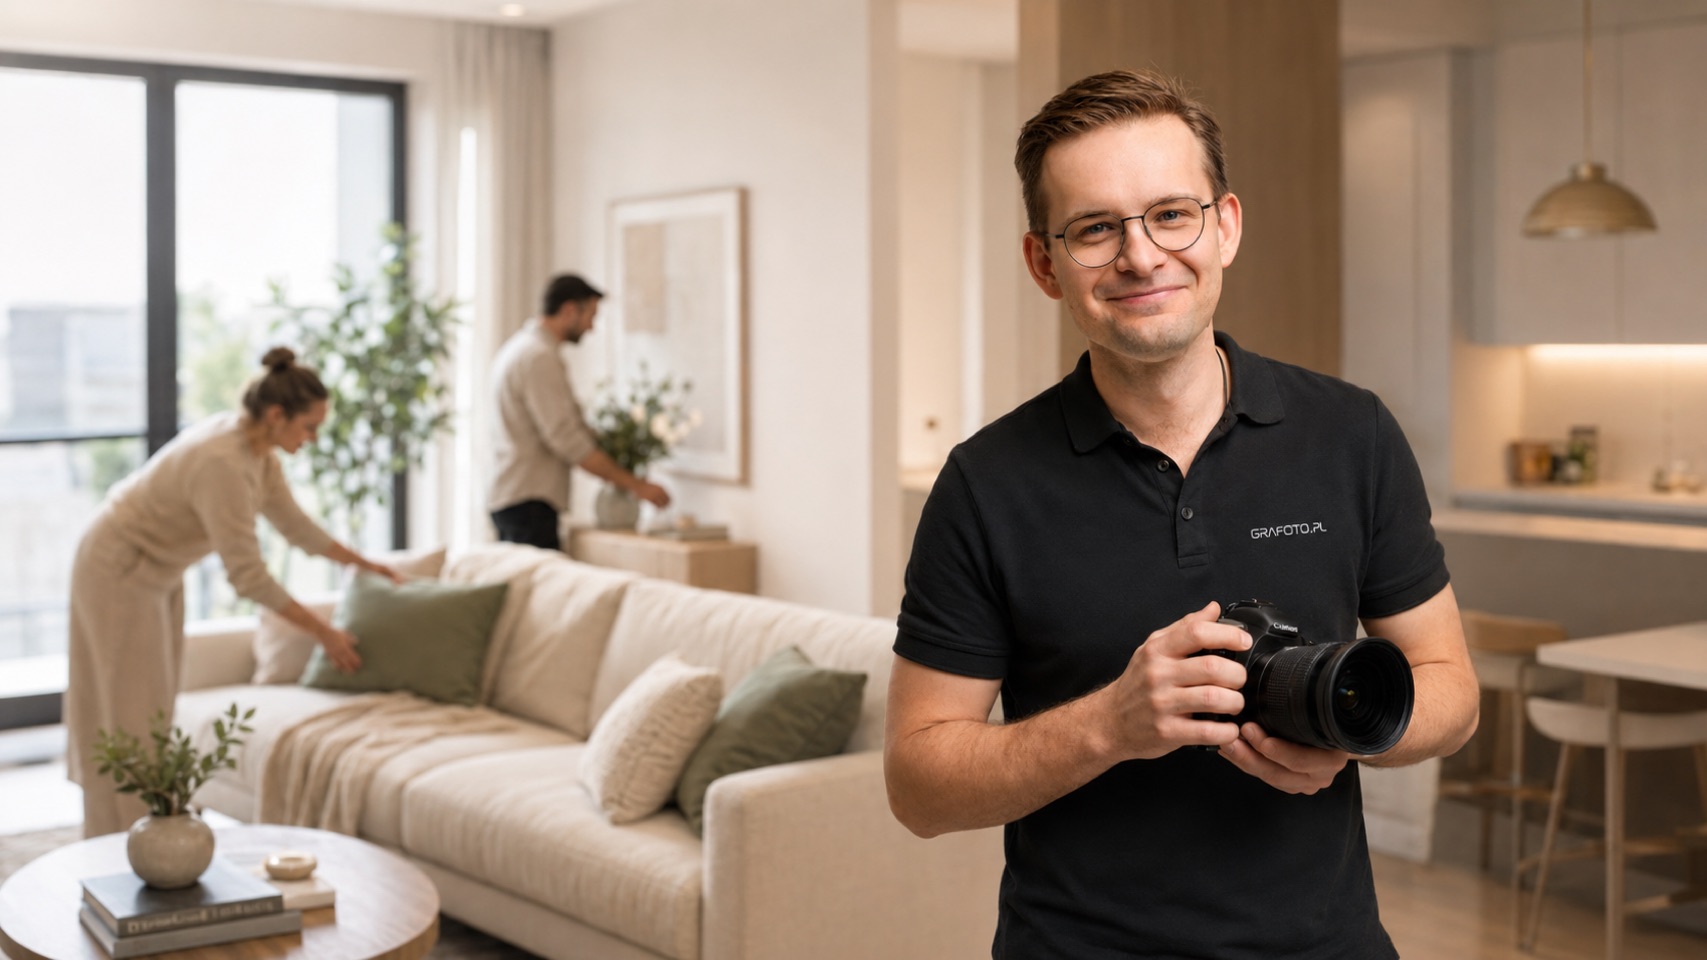
How to prepare a property for a photo shoot — a complete step-by-step guide
Great photos, video, and a virtual tour start long before the photographer arrives. This guide will walk you through preparing your property specifically for your scope of services — from tidiness and lighting to the nuances of video, 360° panoramas, and drone shots. And if you chose home staging, you can relax: we take full responsibility for the styling.
Do you have home staging in your package? You don't have to do a thing — it's our wild card
If you chose home staging, breathe easy: we take care of all the styling, decorations, and set design. You don't need to do a deep clean, buy accessories, or arrange the interior for photos — we bring a full set of props (textiles, flowers, accessories) with us, and we'll handle the details ourselves. Just provide us with access to the property for 2–4 hours, take any valuables and personal items you don't want in the photos, and let us know about any restrictions (no drilling, quiet hours, available outlets). Leave the rest — from furniture arrangement to the last blanket on the sofa — to us. A vacant or minimally furnished property yields the best results, but if the apartment is occupied, just let us know, and we will adapt the styling to the existing interior. The remaining tips in this guide do not apply to you.
Universal preparation checklist — always do this, regardless of services
- Hide small items from countertops, windowsills, and floors — leave a maximum of 1–3 decorations per surface, the rest creates a cluttered look
- Clean and vacuum floors, wipe dust from furniture, baseboards, and shelves — the lens will catch every speck not visible to the naked eye
- Open blinds, shutters, and curtains, and replace burnt-out bulbs — maximum daylight and uniform, warm color temperature throughout the interior
- Coil or hide cables, chargers, power strips, and remotes — preferably in drawers or behind furniture, out of the frame
- Remove personal items: family photos, documents, medicine, clothes on chairs — the interior should be neutral and ready for the new owner
- Hide pet accessories — bowls, litter boxes, beds, and toys should not be in the frame
- Hide trash cans, drying racks, and laundry baskets out of the camera's view
- Wipe mirrors, windows, and glossy surfaces dry — streaks and fingerprints ruin even the best-designed interior
- Don't leave preparations for the last minute — tidy up room by room before the team arrives
Interior photos 2–4 h (apartment), half a day (house)
Interior photos are the foundation of the entire shoot — the success of every subsequent service depends on order, cleanliness, and light. A well-prepared interior is photographed faster and looks a class better in photos than in reality.
Do this
- Hide all small items from countertops and windowsills — leave a max. of 1–3 decorations per surface
- Open blinds and shutters, draw back curtains — let in maximum daylight to every room
- Clean and vacuum floors, wipe dust from furniture and mirrors — the camera will catch every speck
- Make beds neatly and pull bedspreads tight, arrange pillows symmetrically in every bedroom
- Empty the sink, load the dishwasher, hide small appliances, leave the kitchen countertop clean and empty
- Coil or hide cables, chargers, power strips, and remotes — preferably in drawers out of the frame
- Check all light bulbs and replace burnt-out ones — even, warm light throughout the apartment
- Hang fresh, matching towels, hide toiletries, toothbrushes, and toilet paper
What to avoid
- Don't leave personal items — family photos, documents, medicine, clothes on chairs
- Remove pet accessories: bowls, litter boxes, beds, and toys should not be in the frame
- Hide trash cans, drying racks, and laundry baskets out of the camera's view
- Don't hang laundry or put magnets and notes on the fridge — they distract and lower the quality of the photo
- Don't leave preparations to the last minute — tidy up room by room before the photographer arrives.
Video presentation 90–150 min
Video shows the interior in motion, second by second — and here lies the catch that doesn't exist with photos: a moving shot is practically impossible to retouch. A cable, a smudge on the glass, or dust on the countertop, which we remove in a few moments in photography, stay on video forever. That's why preparation must be more thorough and meticulous than for a photo shoot alone.
Do this
- Clean every room that will be in the frame thoroughly — the video guides the viewer through the entire route, there are no 'safe' shots to skip.
- Hide ALL cables, chargers, and wires — this is the number one problem on video. Not a single one will disappear in motion, so pack them behind furniture or in organizers.
- Wipe all windows, mirrors, and glossy surfaces dry — the camera will catch smudges and reflections from every angle during the walkthrough.
- Dust countertops, windowsills, baseboards, and shelves — dust invisible in a photo from a distance catches the eye in a video close-up.
- Remove clutter from view: fridge magnets, papers, cosmetics, dishes from the drying rack — leave a max. of 2–3 decorative items per surface.
- Replace burnt-out bulbs and set a uniform light temperature (warm ~2700–3000K) throughout the apartment — different light colors ruin the consistency of the shots.
- Open blinds and curtains, let in maximum daylight — video needs more of it than photos to keep the motion smooth and noise-free.
- Plan the absence of household members and pets for the duration of the recording (1.5–2 h) — background movement or barking forces the repetition of entire takes.
What to avoid
- Don't count on retouching 'like in photos' — we cannot remove stains, smudges, reflections, or cables in motion. What stays in the frame stays in the final video.
- Don't leave the trash can, laundry, or bags within the camera's reach — they are hard to avoid during a wide pan, and cutting them out in editing is impossible.
- Watch out for reflections in mirrors, TVs, and glass — a moving camera will show clutter, the crew, or an adjacent room from a different angle.
- Don't skip the bathroom: hide toothbrushes, cosmetics, and towels, lower the toilet lid, and wipe the faucets — these are shots where every detail is close up.
- Don't leave cleaning to the last minute — video requires more care, so reserve more time than for a standard photo shoot preparation.
3D virtual tour (360° panoramas) 2–4 h (entire apartment simultaneously)
The 360° camera captures the entire room at once — ceiling, floor, every corner, the space behind doors, and under windows. There is no off-camera space, so every interior must be 100% ready at the same time.
Do this
- Clean the entire room all around, not just one wall. The camera sees 360°, so clutter in any corner ruins the whole shot.
- Prepare all rooms at once — including the bathroom, boiler room, walk-in closet, and hallway. The virtual tour enters each of them on the same day.
- Hide personal items: documents, medicine, chargers, cosmetics, laundry, pet bowls. Everything left out will end up in the panorama.
- Close all wardrobes, drawers, interior doors, and appliance doors. An open wardrobe reveals its entire contents in the virtual tour.
- Replace burnt-out bulbs and set a single light temperature (preferably warm white) throughout the apartment — different temperatures in one shot look chaotic.
- Clean windows and mirrors, raise the blinds evenly in all windows. Smudges and reflections are mercilessly visible in a 360° panorama.
- Clip or hide cables, power strips, routers, and chargers — tuck wires behind furniture. In a 360° shot, nothing disappears out of frame.
- Arrange pillows, blankets, chairs, and rugs symmetrically. Centered, orderly furniture looks much better in a panorama.
What to avoid
- Don't leave one room unprepared for later — in the virtual tour, the client will enter every room, so all must be ready at the same time.
- Don't hide things in the bathtub, under the bed, or behind doors. The 360° camera looks literally everywhere, including these hiding spots.
- Don't leave pets and their accessories in the frame — litter boxes, beds, and bowls distract and lower the perception of the property.
- Remember that during the shot, everyone (including the photographer) must leave the room — there is nowhere to hide in a 360° panorama.
- Watch out for mirrors and glossy surfaces — they reflect the entire room and equipment; remove stickers, magnets, and fingerprints from them.
- Don't ignore ceilings, corners, and baseboards — in a panorama, they are a full-fledged background, and dust and cobwebs immediately stand out.
Drone photos and video 45–90 min
An aerial shot shows what is invisible from street level: the building's structure, roof condition, plot size, and the entire surroundings. The exterior and weather are what matter here, so preparation looks different than for interior photos.
Do this
- Clean up the area around the building: raked leaves, mowed lawn, cleared driveway, and sidewalks within a 5–10 m zone from the property.
- Move all cars from the driveway and the front of the property — from above, cars dominate the frame; an ideally empty driveway or max. 1 representative car is best.
- Move trash cans, bins, and containers out of the frame — behind the building, into the garage, or behind the fence.
- Take care of the garden and greenery: trim the hedge, remove weeds, roll up garden hoses, and hide tools and garden accessories.
- Tidy up the terrace and balcony, they are also visible from above: arrange garden furniture, fold umbrellas, hide drying racks, toys, and small items.
- Book a time slot with a buffer — in case of bad weather (wind above limits, rain, fog), we reschedule the flight to a safe date.
- Check the facade and roof from a distance: rolled-up blinds/awnings in a uniform position, clean paving stones, no loose elements or construction foils.
What to avoid
- Do not leave cars on the driveway or guests parking in front of the property — this is the number one mistake that ruins an aerial shot.
- Don't hide trash cans at the last minute — also check those at your neighbor's in the line of sight and ask to move them if possible.
- Do not push for a flight in strong winds, precipitation, or fog — it's a matter of safety and quality, it's better to reschedule than to risk it.
- Remember, the drone shows the surroundings without retouching: an unkempt lawn, an oil stain, or a mess behind the house will be visible.
- Don't count on "it can't be seen from above" — small items on the terrace, laundry, and accessories are perfectly visible in a vertical shot.
Home staging 5–15 min (the rest is on us)
Do this
- Provide us with access to the property for at least 2–4 h — keys, gate code, or the presence of someone to open up.
- Indicate 2–3 priority rooms (e.g., living room, kitchen, bedroom) that matter most to you.
- Remove valuables and personal items you don't want in the photos — we will tidy up the rest ourselves.
- Let us know about any restrictions: drilling bans, community requirements, quiet hours, available power outlets.
- Make sure there is electricity and working lighting — we need power for lamps and equipment.
- Secure pets out of the frame during the session — for their peace of mind and the cleanliness of the set.
Things to remember
- Don't buy decorations or furniture on your own — we bring a full set of props (textiles, flowers, accessories) with us.
- Don't spend the evening deep cleaning — basic tidiness is enough, we will handle the details ourselves.
- Don't book the session at the last minute — reserve a date 5–7 days in advance to coordinate the delivery of props.
- Don't hide everything in closets before we arrive — leave some space, we will decide what to showcase.
Combining services? Remember
Frequently asked questions
Do I need to be present during the session?
What about pets and children during the session?
How long does the session and preparation take?
What if I don't manage to clean everything?
Can weather reschedule drone shots?
How much do I need to perfect the interior for video and a 360° tour?
Ready for the shoot? Book a date with Grafoto
Do you have questions about preparation or don't know which scope of services to choose for your property? Contact us — we will advise you, suggest what to prepare, and arrange a convenient session date. And if you want the full effect without the effort, ask about home staging: we will take care of the styling, decorations, and set design entirely.
Book a shoot / get a quote